Showing posts with label crafts. Show all posts

Monday, February 23, 2015

Chicken Wire Memo Board

Last summer Chablis bought a roll of chicken wire and it's been sitting, neglected, ever since.  This weekend she finally had some spare time so she decided to tackle a project she's been wanting to try.

First she painted and distressed an old photo frame.  This one measures about 18" x 12".  Then she tacked some small nails around the back of the frame....


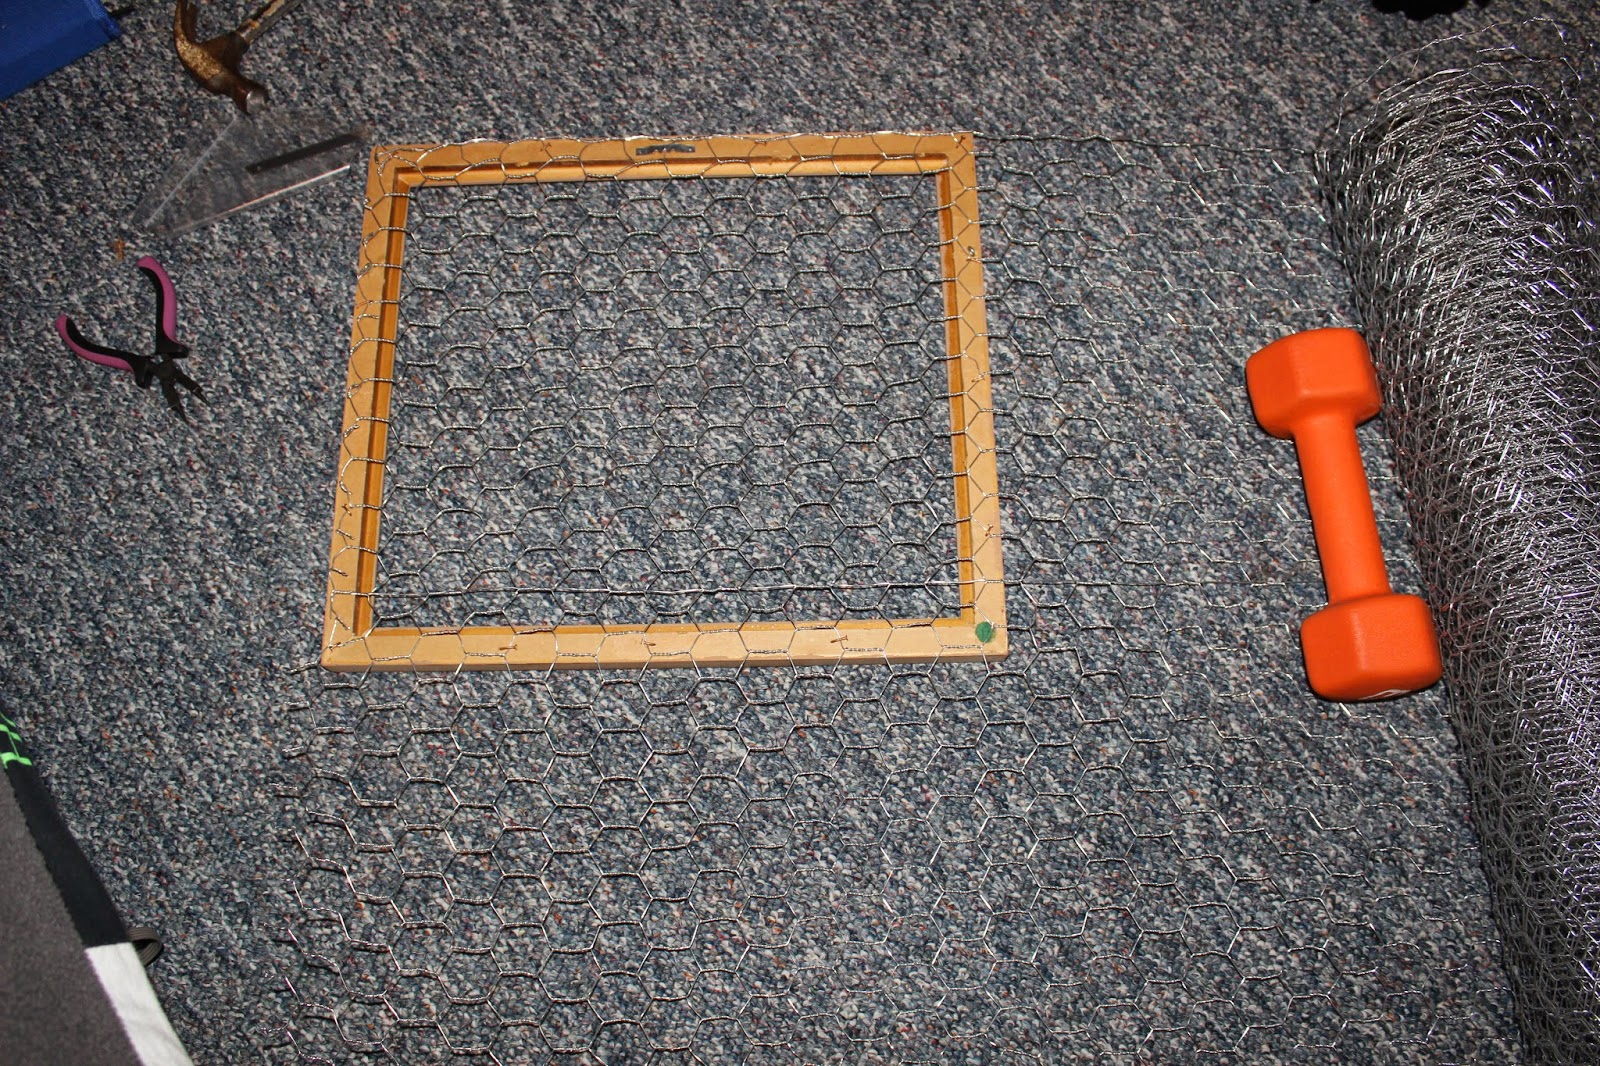
She cut out a piece of chicken wire that was just a little larger than the frame....


And stretched the chicken wire over the nails.  Then she hammered the nails down over the wire...


Here's how it then looked from the front.  She was going to leave it like that, but thought maybe it would look cute with a piece of burlap behind it.


She cut and ironed some burlap and then hot glued it around the frame, right over the edges of the wire and the nails...


Petey always likes to be nearby and sleep supervise.  Notice how he has to be right on top of us and where we are working.  He likes to be involved.....


Once she was finished attaching the burlap, Chablis grabbed some small clothespins to use to hang up cards and pictures.  I think she did a great job!  She added a hook on the back and now it's hanging in her bedroom.


I think she may have to make one for her mother.....

Monday, January 26, 2015

Cribbage Board Key Holder

Last week Chablis was cleaning out her closet and pulled out a bunch of her old games.  One of them was this vintage cribbage board from the 1960's.  I have no idea why she had this in the first place as she doesn't even play cribbage.  The graphics are great...


All the original game pieces were tucked inside the little hidden compartment in the back.  It sat there staring me in the face and the wheels started turning....  First I attached a hanger so you can hang it on the wall....


Then I screwed in some hooks to hang keys from and I glued the original game pieces into the board....


And there you have it - a key holder for a lover of vintage games, especially Cribbage.  Won't this look awesome hanging on the wall?


And there's still a hidden compartment in the back - for love notes maybe??


Currently for sale in my Etsy Shop.

Monday, December 22, 2014

Crafty Christmas Pillows

I think I may have mentioned how much I really do not like working with burlap - it's so messy and I can't stand the fibers that get all over everything.  A couple of weeks ago Chablis bought a piece of burlap and some flannel Christmas material to make two pillows and that's how I originally ended up buying burlap to make my Ho,ho, ho Card Holder and my Gift From the Sea frame.

Anyway, last night she begged me to make the pillows before Christmas actually got here.  I've been putting it off because the past few days we've been super busy baking Christmas cookies and Christmas lasagna's and honestly, I didn't really feel like it on top of all of that.  I know you're all busy too, so you know exactly what I mean.


But Chablis is always so helpful around the house, and I felt bad, so I hauled my butt out of my chair and told her to get my sewing machine and meet me in the office.

The dreaded burlap.  I think I may have sworn under my breath once or twice....


We cut out 2 pieces of burlap and 4 pieces of the flannel material because Chablis wanted to make 2 pillows...


Then we cut stocking shapes out of 2 of the flannel pieces.  We put aside the cut out stocking pieces and will eventually make hanging stockings out of those.


Then we layered a piece of the cut burlap behind it and I stitched the burlap to the flannel around the stocking shape.

When it was time to sew together the front and back flannel pieces, Chablis asked me if I'd teach her how to do it.  I almost fell off of my chair.  She's never shown any interest in sewing anything, so I showed her how to feed the material through the sewing machine and let her do it....


After sewing the pieces together she flipped them right side out and stuffed them with some fiber fill....


And finally we stitched the bottom seams together.  Aren't they cute?  And the best part about it was that Chablis finally took an interest in sewing and she was thrilled with the end result.  She kept saying "I can't believe I actually made these."  She even mentioned that she was going to go on Pinterest and look for another project to sew.


And I learned that it was well worth my time to get my butt up and do something with my daughter, even though I was tired and didn't really feel like it.  We had fun, she learned to do something new and I had a good time teaching her.


I did make her haul out the vacuum cleaner and vacuum up the mess while I sat and ate some cookies and had hot chocolate.   LOL!

Monday, December 15, 2014

Using Burlap for Crafting

I love the look of burlap but I'll be honest, I'm not crazy about the mess it makes when you work with it.  It leaves little fibers, fuzz and strings all over everything.  Yuck.  But the texture is so cool, isn't it?   Last week I showed you the Ho, ho, ho Christmas Card Holder I made.   Today I'm going to share the picture frame I made as a gift for my good friend Moira.

You know Moi - I went down to Sanibel last August with her and Traci.  You can read about our fun filled trip here.   Moira and I share a passion for decorating with beach themed items, and after she gave me some gorgeous sand dollars a couple of weeks ago, I had an idea of something I wanted to make for her.

First I took an 8" x 10" picture frame and painted it beige....


 I applied a thin coat of watered down Elmer's Glue to both sides of the sand dollars to help make them a little more sturdy.  Sand dollars are so fragile and I've found that I break fewer of them if I coat them with the glue mixture.  Once they dry, you can't even tell.   I took a piece of burlap and cut a piece a little larger than the cardboard insert for the frame.  Then I ironed it out nice and flat.   I pulled out my stencils and some blue paint....

....and stenciled one of our favorite sayings onto the burlap....


Once the paint had dried I attached the burlap to the cardboard insert and put it inside the frame.  Finally I took one of the sand dollars and glued it to the corner of the frame.  I adore the look of stenciled letters on burlap.


So the above frame was made for Moira and then I made this for myself.  I took one of the arrowhead sand dollars she gave me and gave it the Elmer's Glue dip.  Then I took a 4" x 4" frame, painted it beige and simply glued the sand dollar to the back of the frame.   This was a super easy project and it's now standing on a book shelf  in my office.  Isn't the shape of this sand dollar awesome?


I swear it took me longer to clean up all that burlap than it did to make both projects.

Monday, November 25, 2013

Homemade Tee Shirt Quilt

I've been wanting to make a tee shirt quilt for the longest time and Tony's girl friend Alex made one over the summer that turned out so good that I decided I had to do it.  It was really quite simple and it's a great way to use old tee shirts.  Chablis and I spent an hour going through all our drawers and collecting the tee shirts we wanted to use.  I had no idea we had so many tee shirts, and we tried to pick ones with great graphics or ones that had sentimental meaning.  Man, I wish I still had all my really cool tee shirts from the 70's - I am just sick about that.

Once we collected our shirts we had to cut them to size.  I decided on 12" x 12" and I borrowed the square form that Alex and her mom used.  They had a great idea - they used the top of a take out pizza box.  It made a nice sturdy form.  I just laid the form on top of the tee shirts and cut my squares out.  I ended up using 30 squares for mine and Chablis cut 35 squares for hers.


Next I bought fusible interfacing for mine.


This is the kind I bought....


And I had a 50% off coupon from Jo-Ann Fabrics - Score!!


Honestly, this was the part I hated about the whole thing.  Ironing the fusible interfacing on the back of each square was a pain in the butt.  You're supposed to use a damp towel and press it over the interfacing in order to fuse it to the material.  I quickly got aggravated with that whole process, so I put my iron on the steam setting and fused it without the damp towel.   It seemed to work ok.


Then I used my handy dandy table top sewing machine and stitched all the squares together with a 1/2" seam...
 

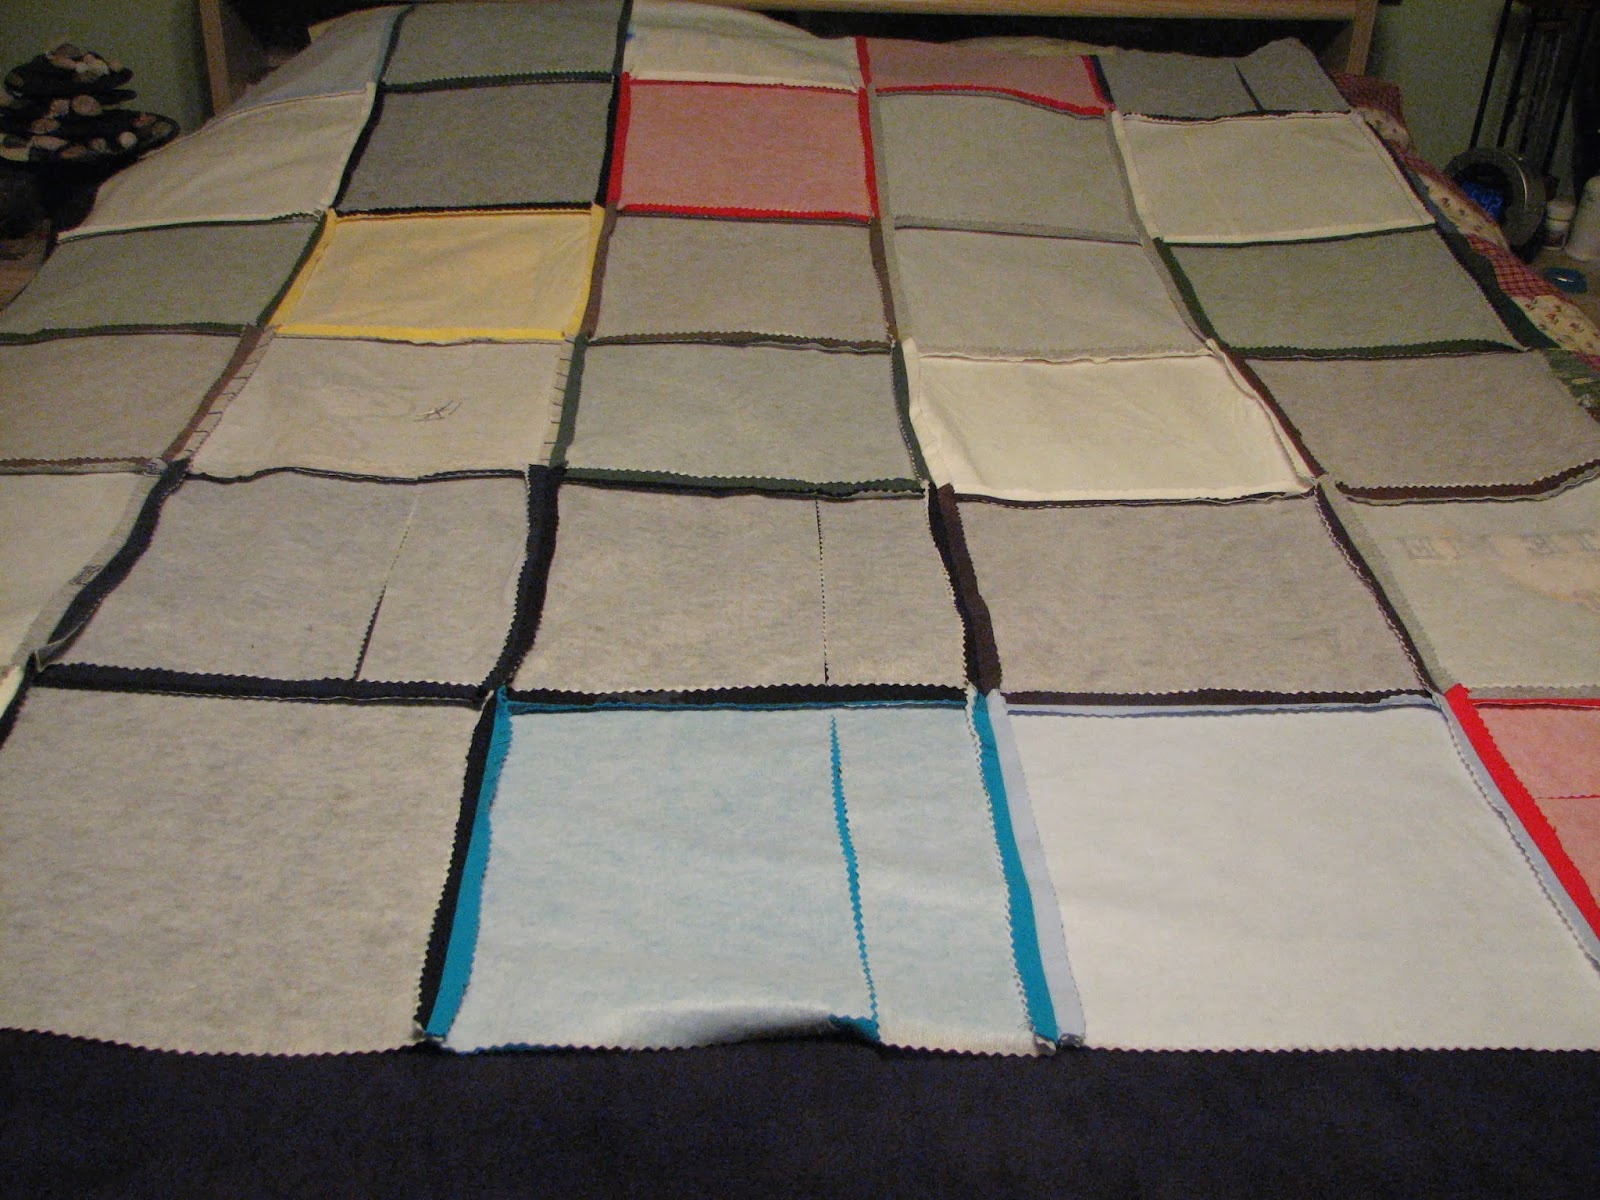
Afterwards I ironed open all the seams and here is how the back looks with the fusible interfacing on it....


Then I sewed a huge piece of nice soft fleece fabric on the back and here's my finished tee shirt quilt....


Chablis made hers a little differently.  She didn't want to spend the extra money on the fusible interfacing and once she saw how much work it was to iron it on, she was really glad she didn't buy it.  Since I did the sewing of all the squares, I will tell you that sewing the squares with the interfacing was much easier because the material was stiffer.  But as far as the finished product goes, there isn't much difference.  My quilt feels a little heavier because of the interfacing, but hers is much softer.  So it's a personal preference for you if you decide to use the interfacing or not.  Here's her finished quilt and she used a piece of fleece for the backing as well....


These tee shirt quilts are a great project.  They were extremely easy to make and if you're looking for a great gift for someone, then raid their dresser for some cool graphic tee shirts and whip one up.
Related Posts Plugin for WordPress, Blogger...