I love the look of burlap but I'll be honest, I'm not crazy about the mess it makes when you work with it. It leaves little fibers, fuzz and strings all over everything. Yuck. But the texture is so cool, isn't it? Last week I showed you the Ho, ho, ho Christmas Card Holder I made. Today I'm going to share the picture frame I made as a gift for my good friend Moira.
You know Moi - I went down to Sanibel last August with her and Traci. You can read about our fun filled trip here. Moira and I share a passion for decorating with beach themed items, and after she gave me some gorgeous sand dollars a couple of weeks ago, I had an idea of something I wanted to make for her.
First I took an 8" x 10" picture frame and painted it beige....
I applied a thin coat of watered down Elmer's Glue to both sides of the sand dollars to help make them a little more sturdy. Sand dollars are so fragile and I've found that I break fewer of them if I coat them with the glue mixture. Once they dry, you can't even tell. I took a piece of burlap and cut a piece a little larger than the cardboard insert for the frame. Then I ironed it out nice and flat. I pulled out my stencils and some blue paint....
....and stenciled one of our favorite sayings onto the burlap....
Once the paint had dried I attached the burlap to the cardboard insert and put it inside the frame. Finally I took one of the sand dollars and glued it to the corner of the frame. I adore the look of stenciled letters on burlap.
So the above frame was made for Moira and then I made this for myself. I took one of the arrowhead sand dollars she gave me and gave it the Elmer's Glue dip. Then I took a 4" x 4" frame, painted it beige and simply glued the sand dollar to the back of the frame. This was a super easy project and it's now standing on a book shelf in my office. Isn't the shape of this sand dollar awesome?
I swear it took me longer to clean up all that burlap than it did to make both projects.
Showing posts with label burlap. Show all posts
Monday, December 15, 2014
Sunday, December 7, 2014
Ho Ho Ho Card Holder
I had bought some burlap for a project last week and had quite a bit left over. While scrolling through Pinterest the other day I saw a card holder idea and decided to tweak the idea and make one for myself.
First I cut a piece of burlap approximately 5 ft. by 10". Then I ironed it so it was nice and flat.
I folded over the top edge and sewed it about 2" down from the top, leaving both sides open....
I dug through my craft box and pulled out a paint stirring stick. I painted both sides with a light brown acrylic paint....
After the paint dried I drilled a hole into each end of the stick, about 1/2" in. Sorry. no picture of that.
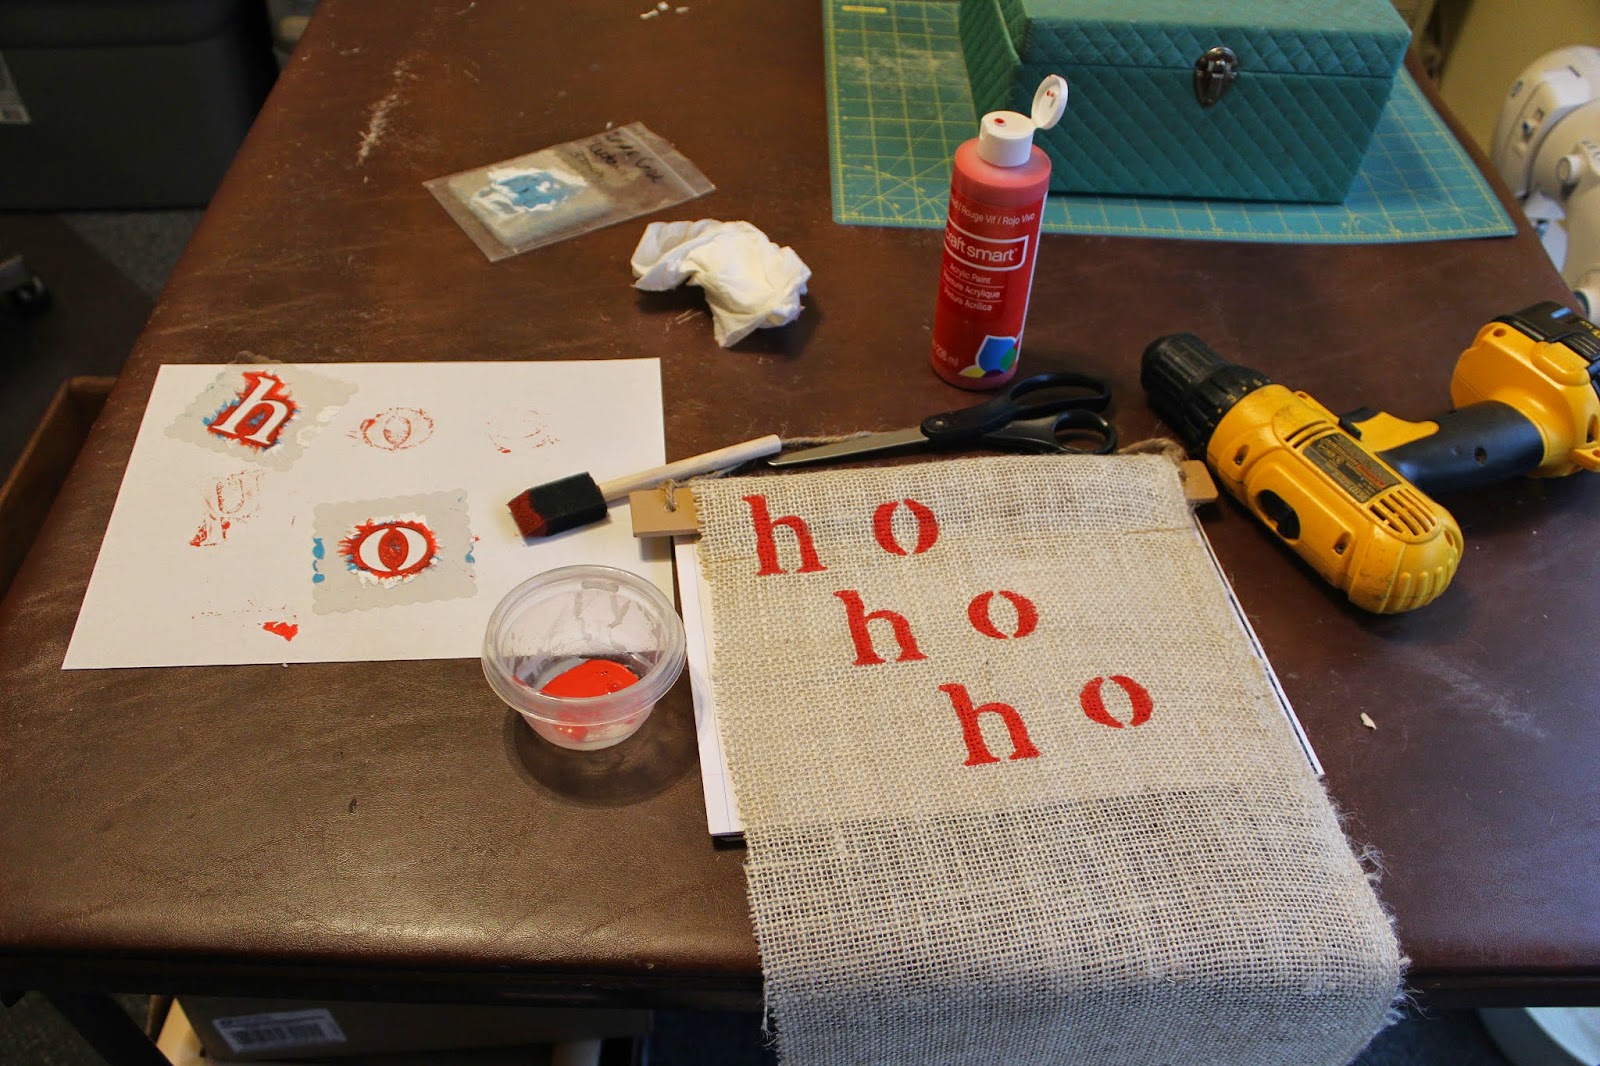
I went out into my craft shed and rummaged around until I found a bag of old clothespins that I bought last summer at an estate sale. I grabbed some green and red acrylic paint and painted up a bunch of the clothespins. Yeah, I know that's a lot of stuff piled up on my craft table but I had about 4 projects going on at once. Does anyone else do that??
I took my stencils and some red paint and wrote ho, ho, ho across the top edge of the burlap...
And finally I threaded a piece of hemp string through the holes of the paint stick so I could hang my card holder from a hook. I stuck my colored clothespins along the edges and as I receive Christmas cards I can attach them to the burlap with the clothespins. I love this idea because usually as I receive cards I lay them on a Christmas plate on the shelf, but this way I can actually see, enjoy and display all my cards.
This was a quick project and it will be easy to roll up and store away with my Christmas decorations. Ho, ho, ho....
First I cut a piece of burlap approximately 5 ft. by 10". Then I ironed it so it was nice and flat.
I folded over the top edge and sewed it about 2" down from the top, leaving both sides open....
I dug through my craft box and pulled out a paint stirring stick. I painted both sides with a light brown acrylic paint....
After the paint dried I drilled a hole into each end of the stick, about 1/2" in. Sorry. no picture of that.
I went out into my craft shed and rummaged around until I found a bag of old clothespins that I bought last summer at an estate sale. I grabbed some green and red acrylic paint and painted up a bunch of the clothespins. Yeah, I know that's a lot of stuff piled up on my craft table but I had about 4 projects going on at once. Does anyone else do that??
I took my stencils and some red paint and wrote ho, ho, ho across the top edge of the burlap...
And finally I threaded a piece of hemp string through the holes of the paint stick so I could hang my card holder from a hook. I stuck my colored clothespins along the edges and as I receive Christmas cards I can attach them to the burlap with the clothespins. I love this idea because usually as I receive cards I lay them on a Christmas plate on the shelf, but this way I can actually see, enjoy and display all my cards.
This was a quick project and it will be easy to roll up and store away with my Christmas decorations. Ho, ho, ho....
Subscribe to:
Posts (Atom)