
First I cut a piece of burlap approximately 5 ft. by 10". Then I ironed it so it was nice and flat.

I folded over the top edge and sewed it about 2" down from the top, leaving both sides open....

I dug through my craft box and pulled out a paint stirring stick. I painted both sides with a light brown acrylic paint....

After the paint dried I drilled a hole into each end of the stick, about 1/2" in. Sorry. no picture of that.

I went out into my craft shed and rummaged around until I found a bag of old clothespins that I bought last summer at an estate sale. I grabbed some green and red acrylic paint and painted up a bunch of the clothespins. Yeah, I know that's a lot of stuff piled up on my craft table but I had about 4 projects going on at once. Does anyone else do that??

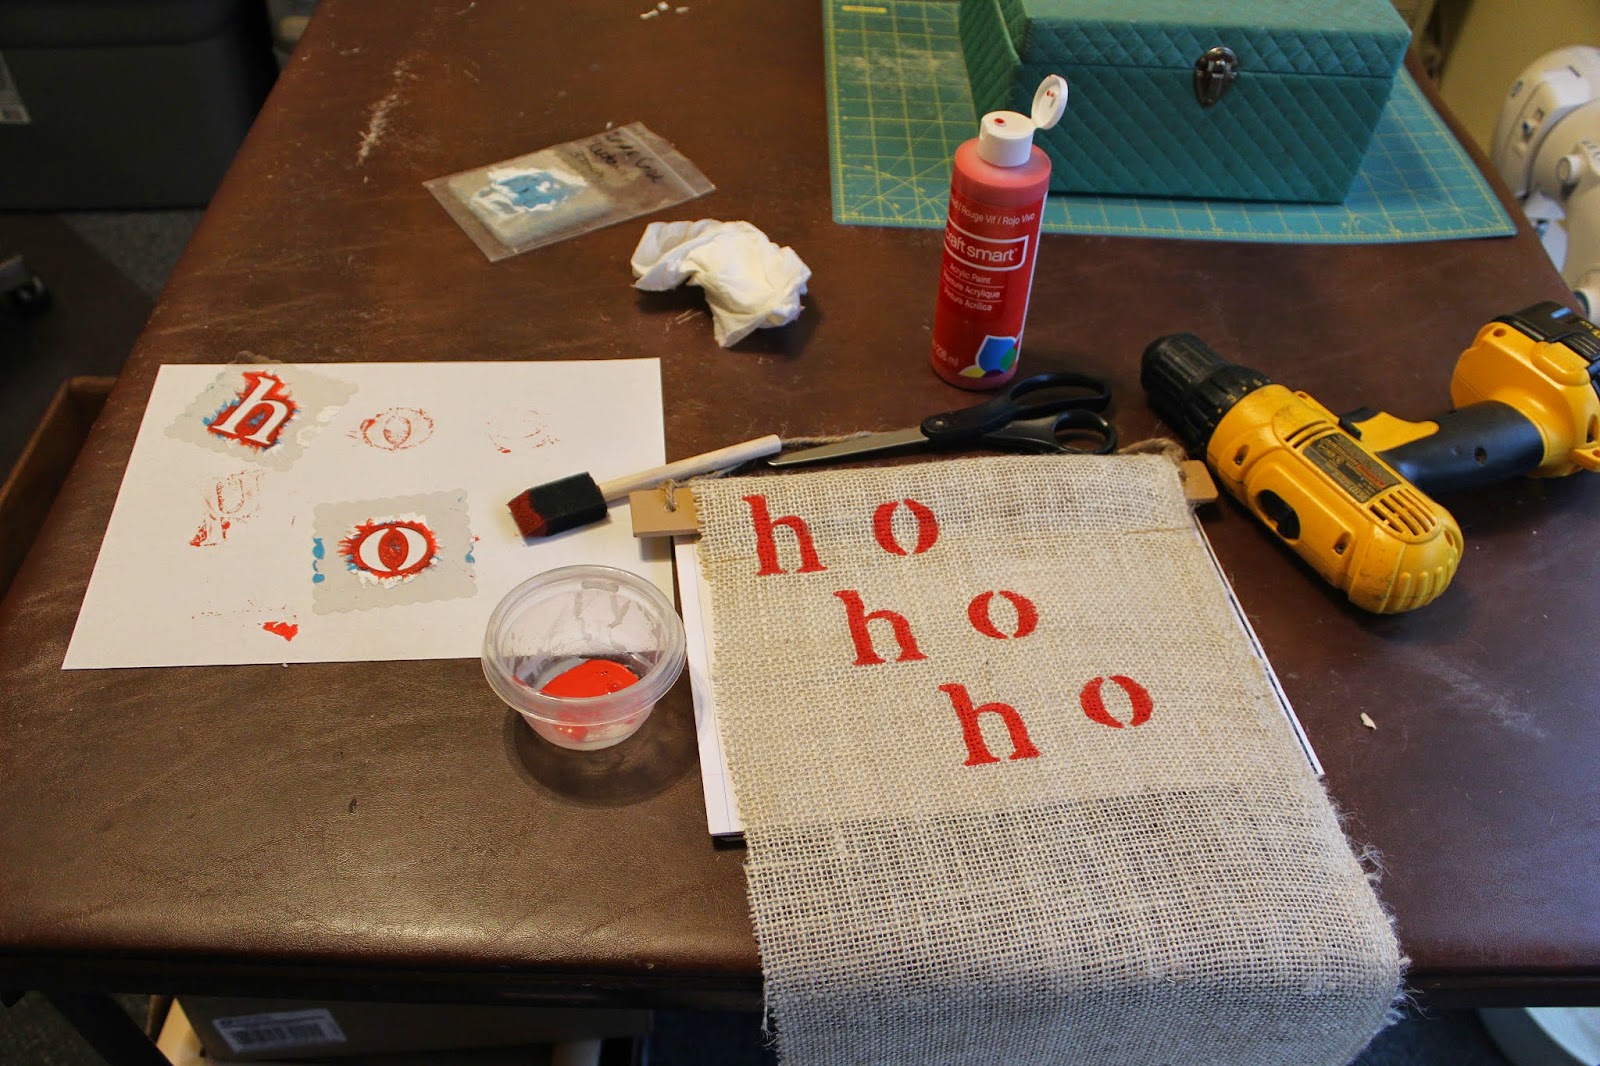
I took my stencils and some red paint and wrote ho, ho, ho across the top edge of the burlap...
And finally I threaded a piece of hemp string through the holes of the paint stick so I could hang my card holder from a hook. I stuck my colored clothespins along the edges and as I receive Christmas cards I can attach them to the burlap with the clothespins. I love this idea because usually as I receive cards I lay them on a Christmas plate on the shelf, but this way I can actually see, enjoy and display all my cards.

This was a quick project and it will be easy to roll up and store away with my Christmas decorations. Ho, ho, ho....

Very nice! I always display my cards-- so nice to enjoy them through the season.
ReplyDeleteThats what I thought too. I always save my Christmas cards from the year before and look at them when we put up our tree.
DeleteWhat a great idea! You are so creative!
ReplyDeleteP.S. I missed your posts last week! You must be busy plowing snow.
Aw, thanks so much Linda. Nope, no snow just yet. I've just had some things going on and blogging had to take a back seat. xo
DeleteWhat an Awesome Idea Kim!! I might have to try this....I never have figured out a good way to display my cards....now I do!!
ReplyDeleteOh, I could think of some cute ways to do that for the Florida house. :-)
DeleteThis is such a great idea, Kim. Love it. xo Laura
ReplyDeleteThanks Laura - I was really happy that it actually worked. xo
DeleteKim!!! Another great idea!!! I love burlap with letters stenciled on.... (hee hee) Especially when the gift comes from a special person...
ReplyDeleteThis is really cute!!
Thanks Moi - another post coming up on that gift. :-)
DeleteThis is SO awesome! I'm wondering if I could cobble together something too. I like being able to see my cards but don't have a good way. You are so smart my friend! Holiday hugs, Diane
ReplyDeleteThanks Diane - I know you could easily make something like this. xo
DeleteThat is so cute! I love the idea!
ReplyDeleteThanks Dolly! xo
DeleteGreat scrapbuste :) Thanks so much for sharing at the Make it Monday Party! Hope to see you again next week.
ReplyDeleteLove this out-of-the-box idea, Kim! Any chance its clone might make an appearance on Etsy?
ReplyDeleteI wish I had the time this week to whip up another one for just that reason, but I can't. I'll have to make some for sale for next year.
Delete